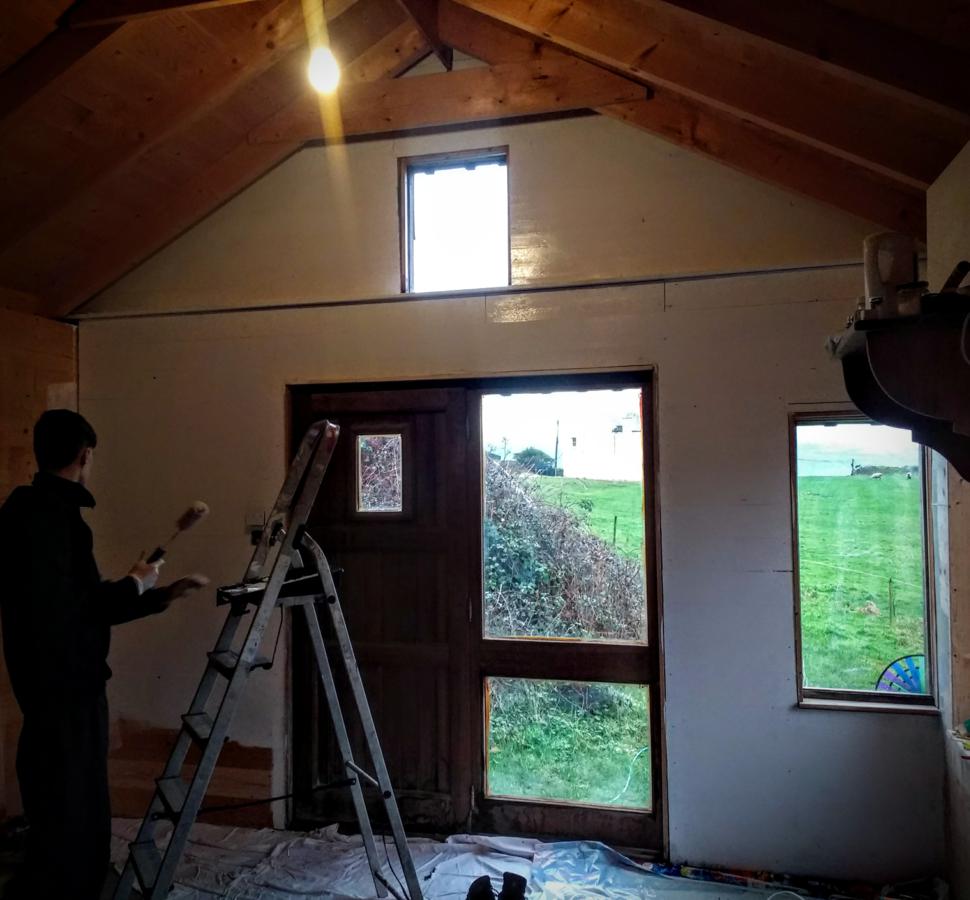
The walls up and finished next stage in the revamp of the home pod was to start freshening the bare wooden walls with some paint. Over the years the wood had darkened by sunlight and where furniture had previously been placed the colours were all wrong. So a coat of paint was the solution.
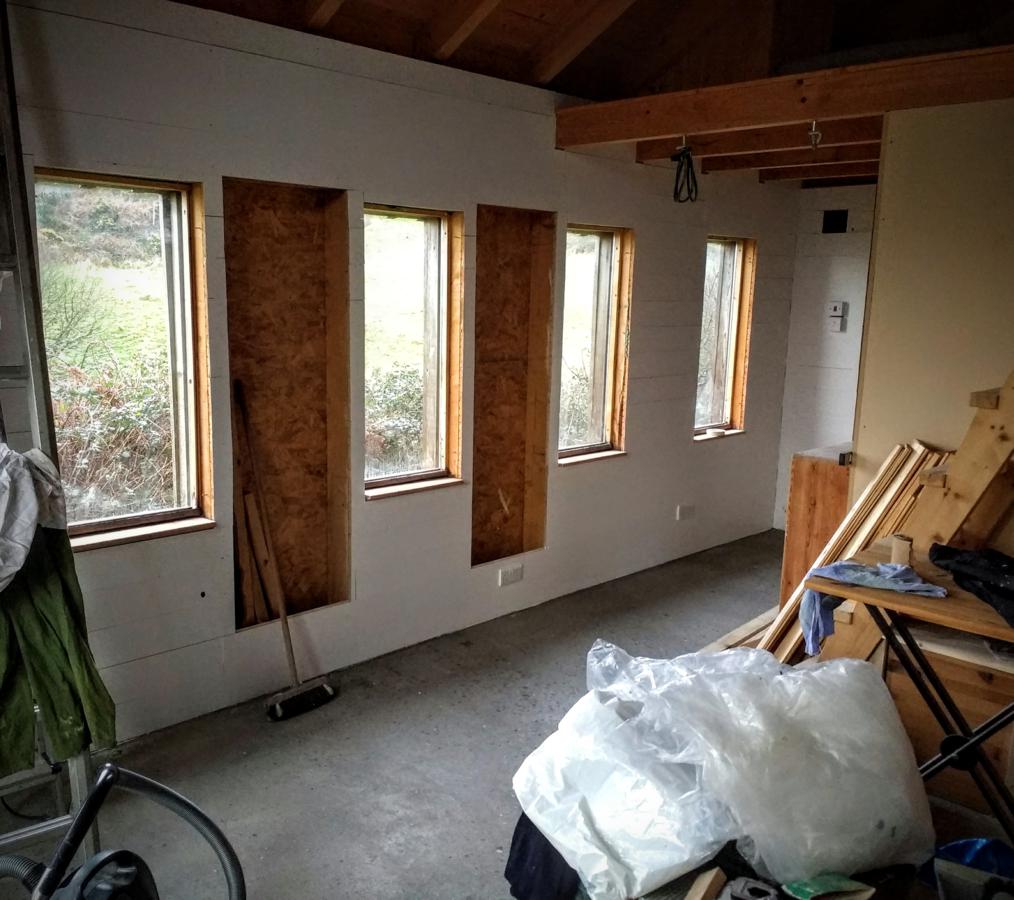
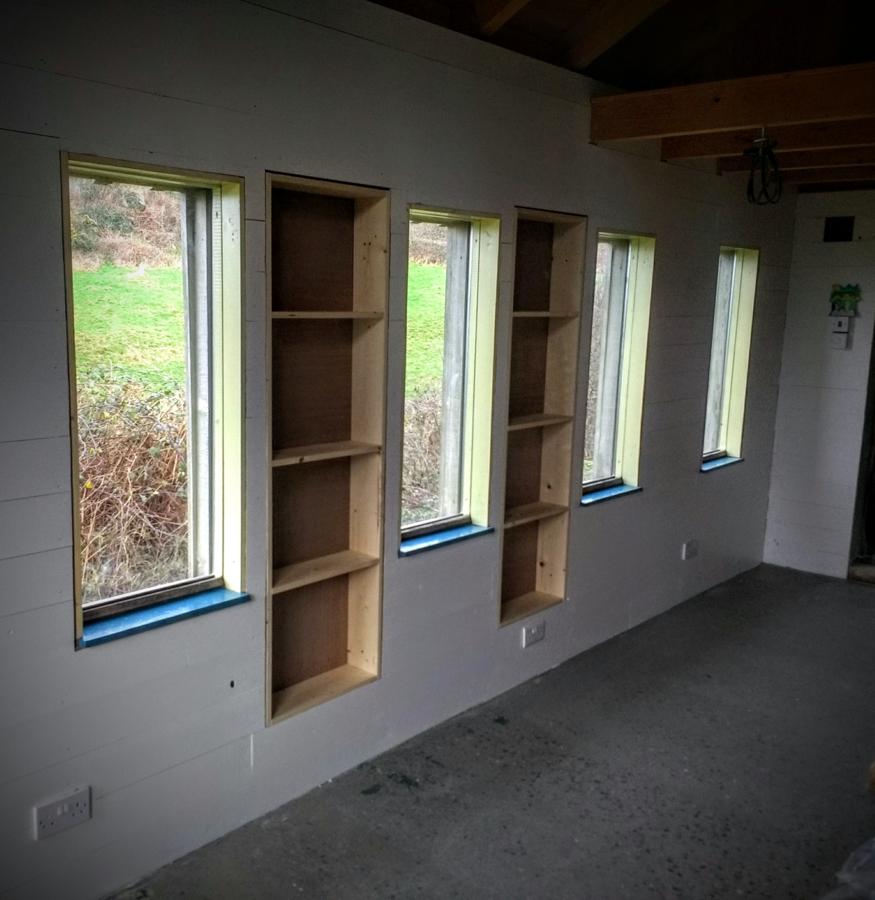
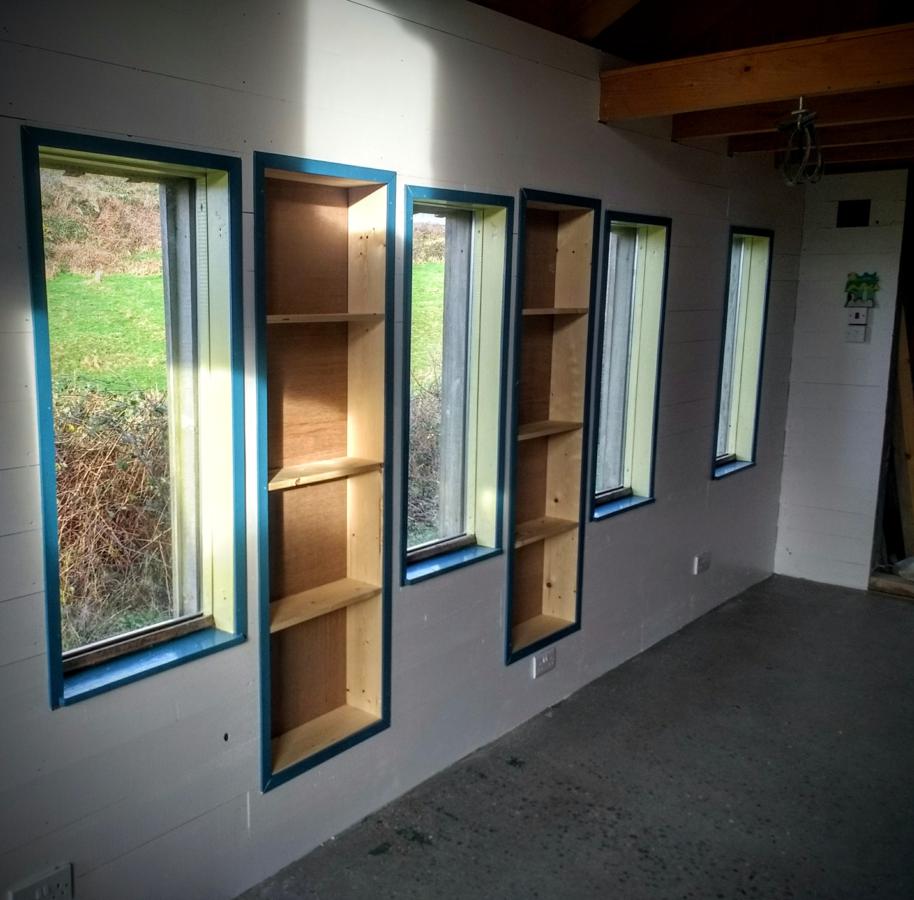
First coatSide walls awaiting the shelving and surroundsShelves Finished
If you like this post please feel free to share, thanks
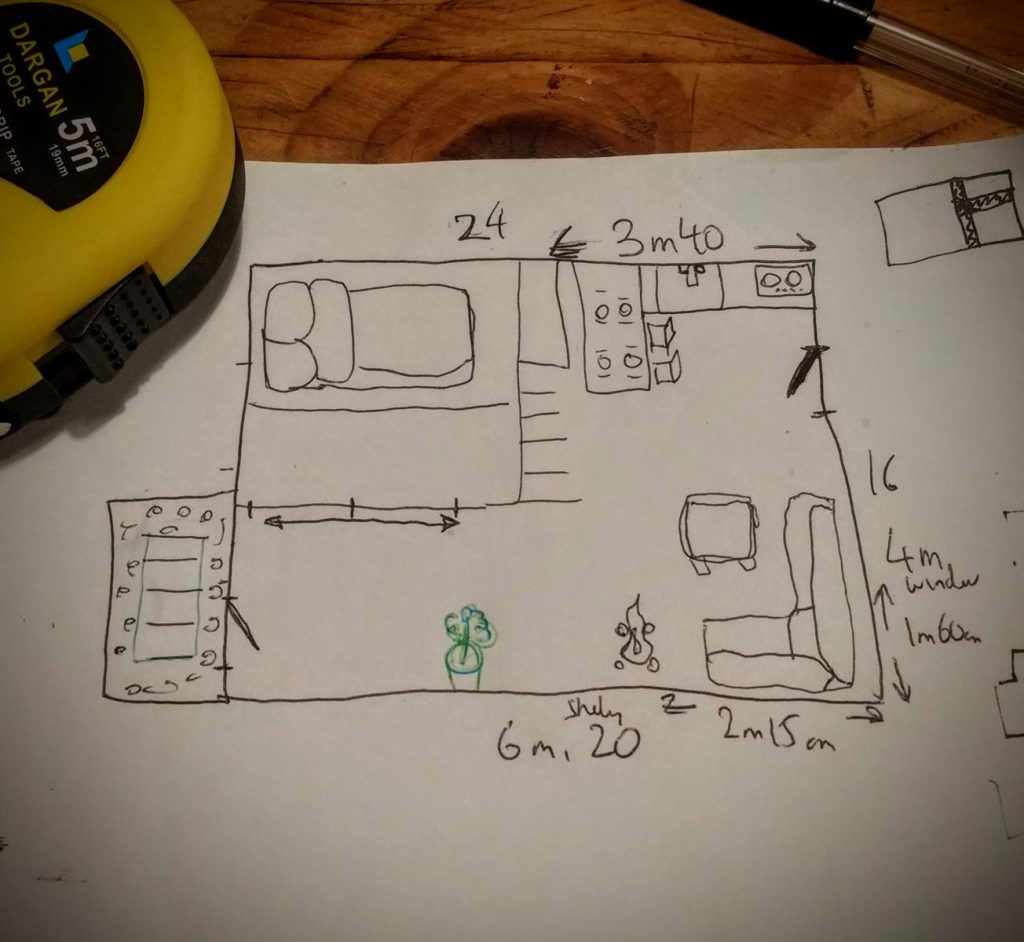
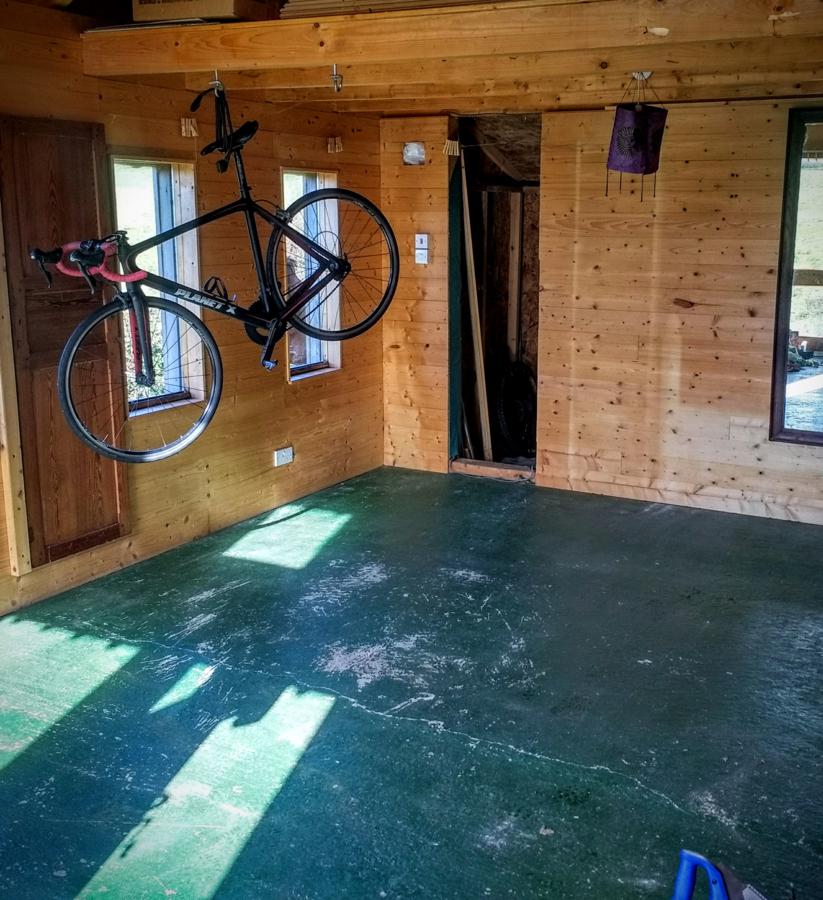
Once the floor was done we had a sketched plan of how to divide the floor space and make a proper bedroom and turn the stairs around from their original position. This gave a more homely feel to the floor space and even though obviously the one space now becomes two the living area steel feels spacious due to all the natural light that floods in through the windows.
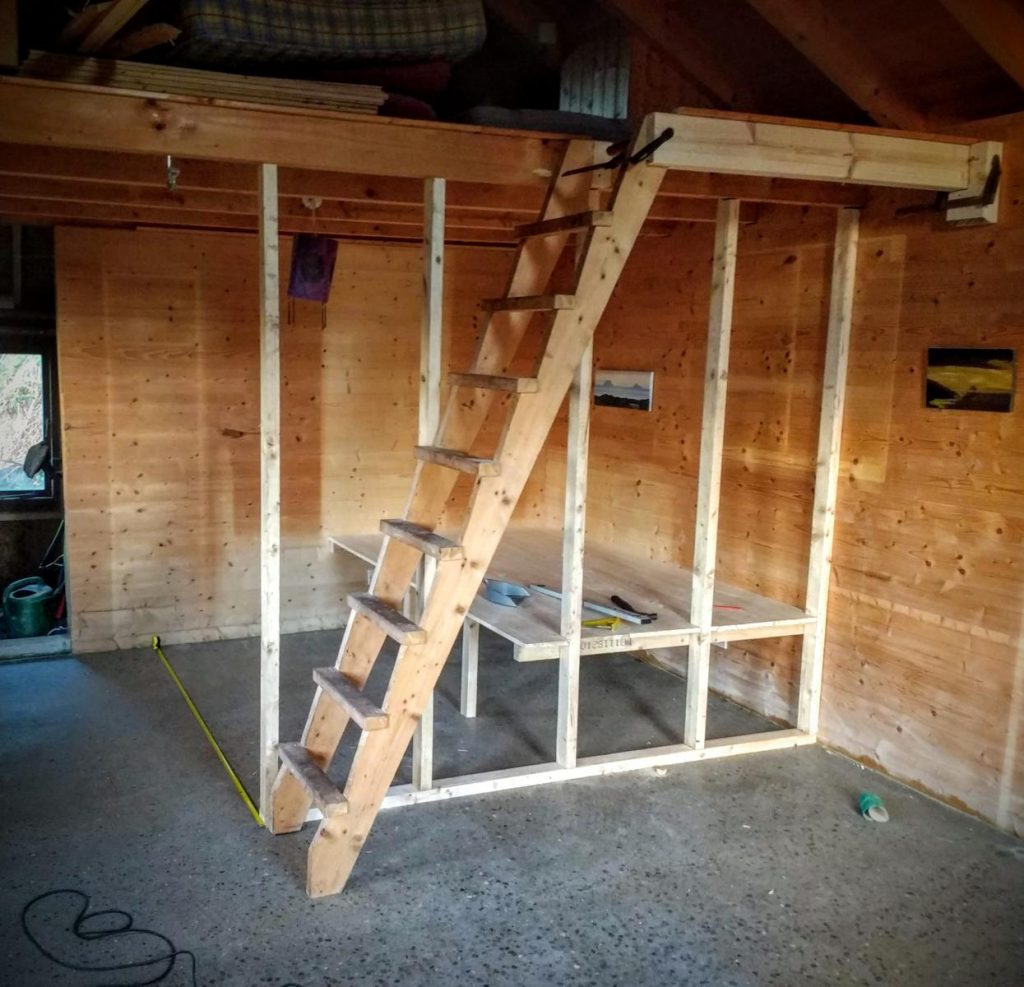
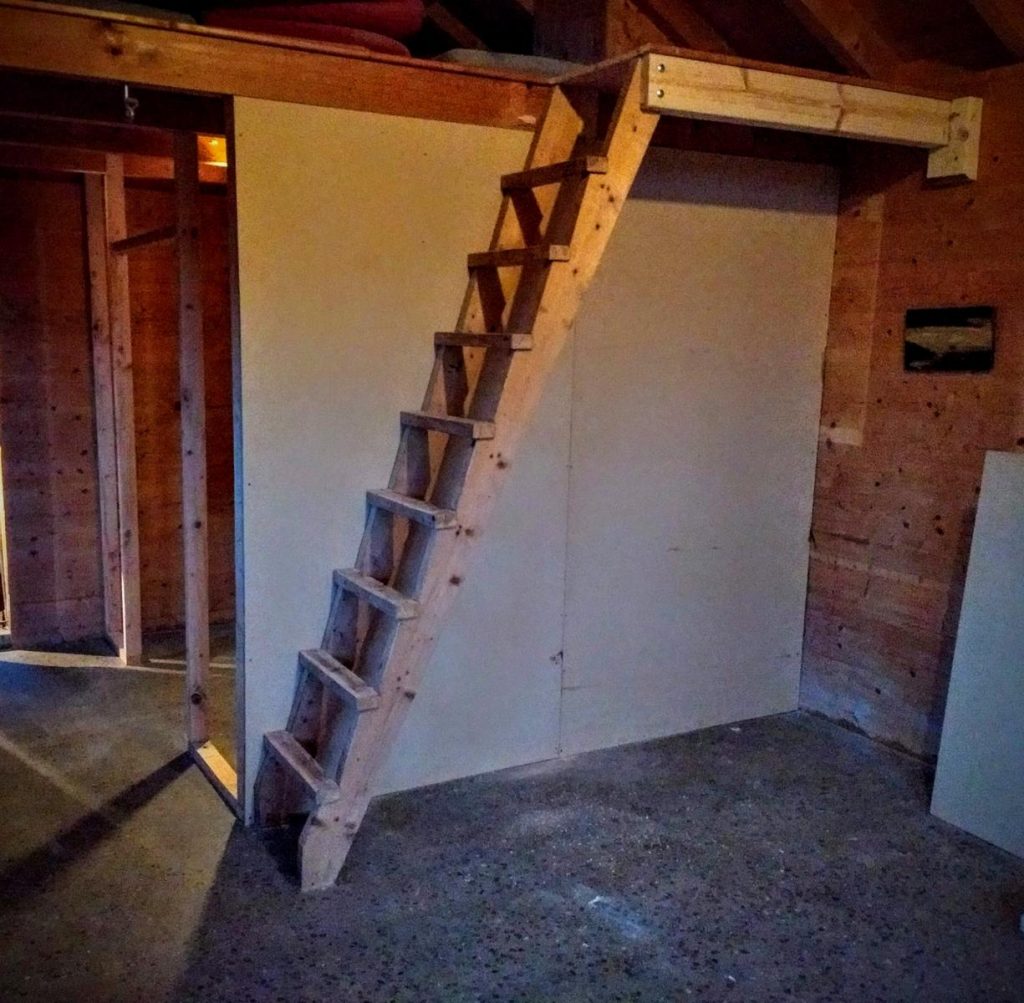
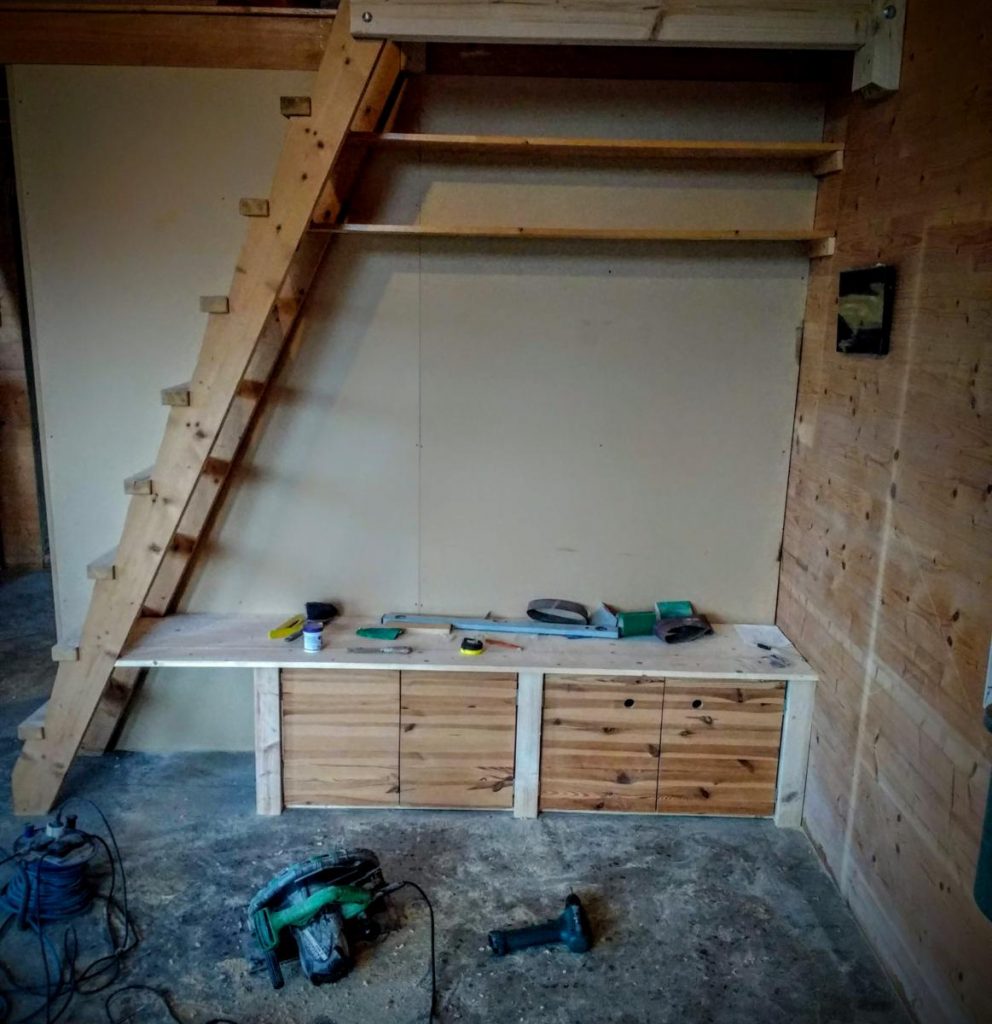
Stud wall up and temporarily the stairs in placeStairs now bolted in to place and one side of the wall sheeted.You can’t beat a sketched out plan, scale drawing….Nice use of the space under the stairs with a bench that also provides storage.
If you like this post please feel free to share, thanks
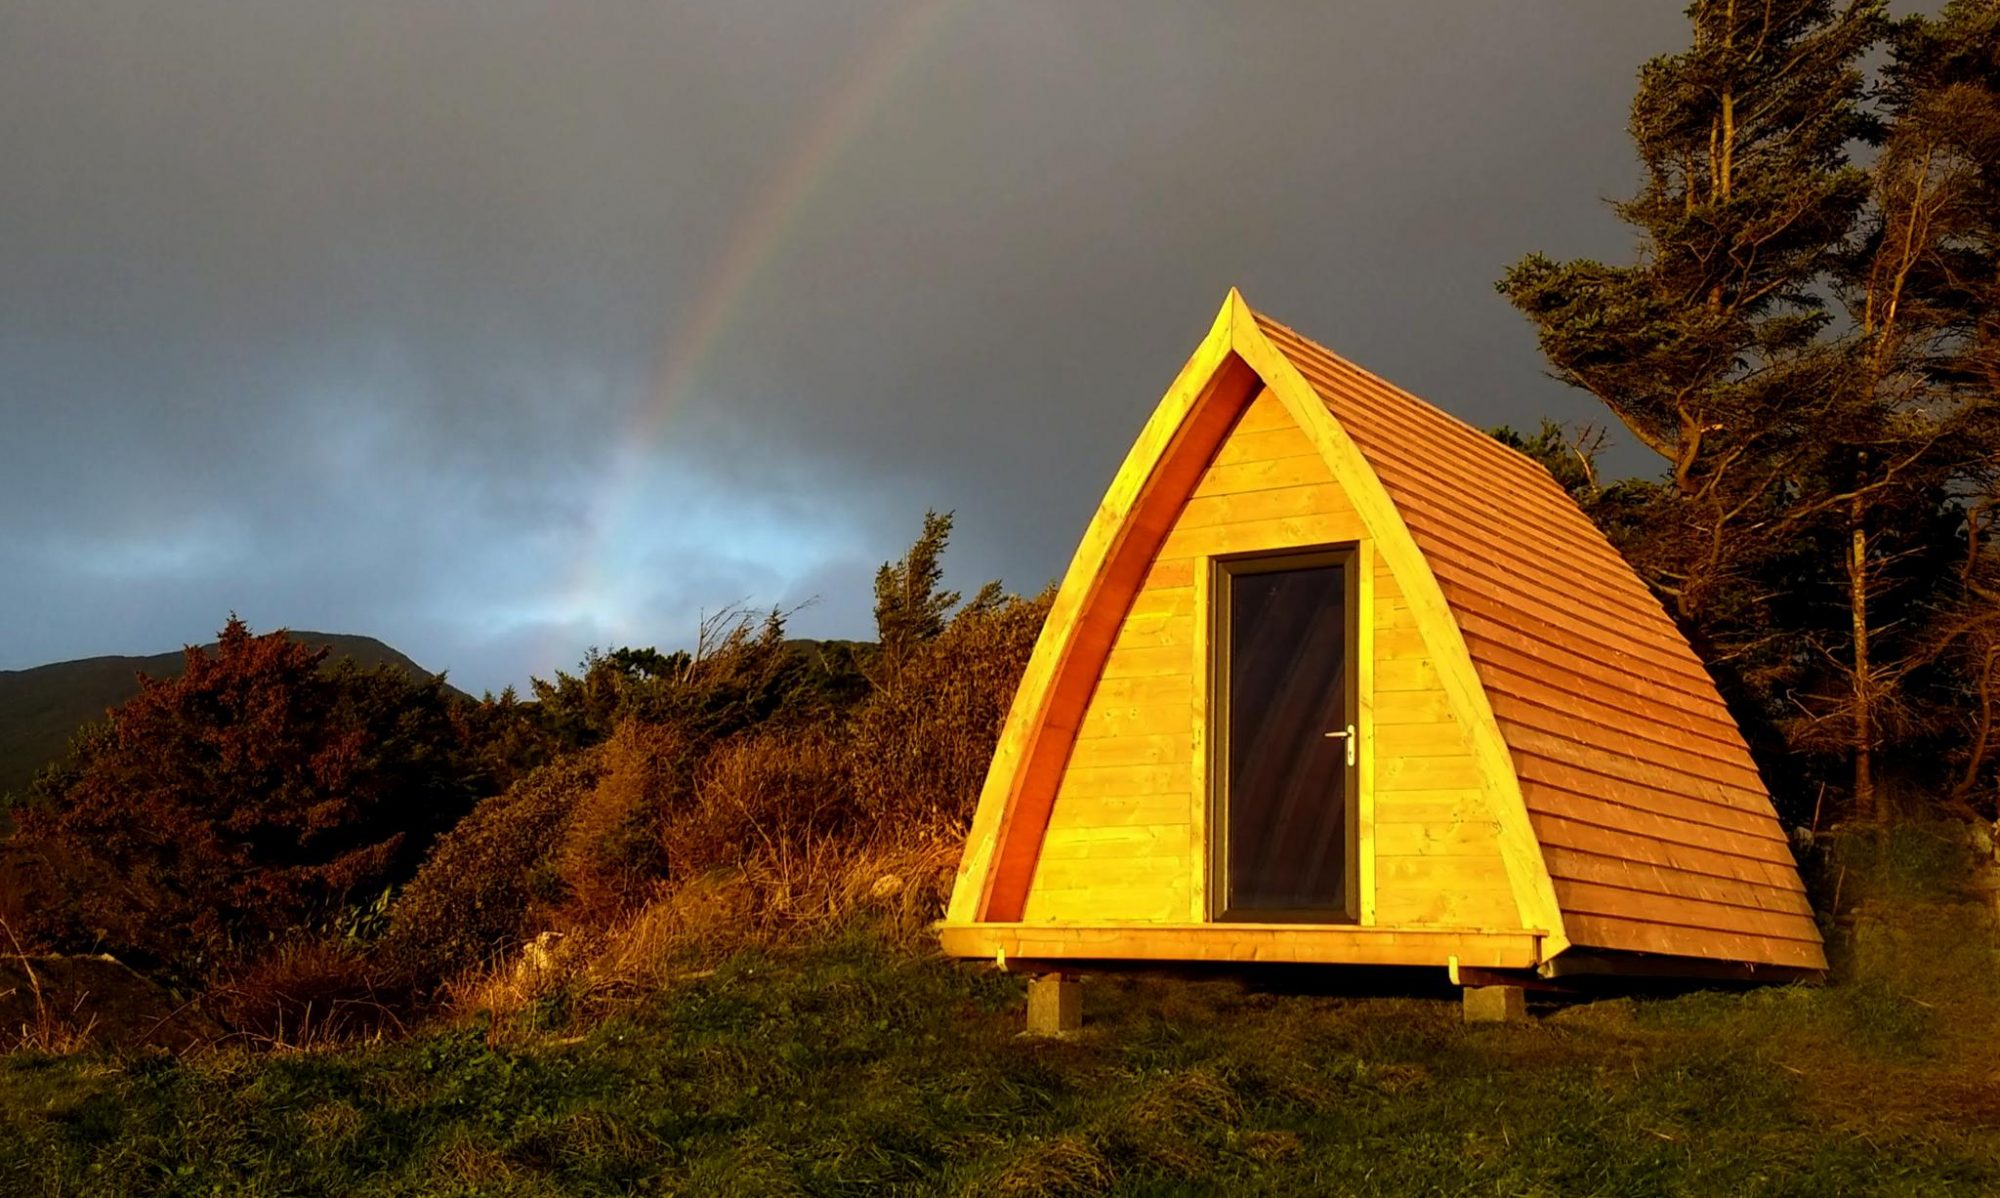
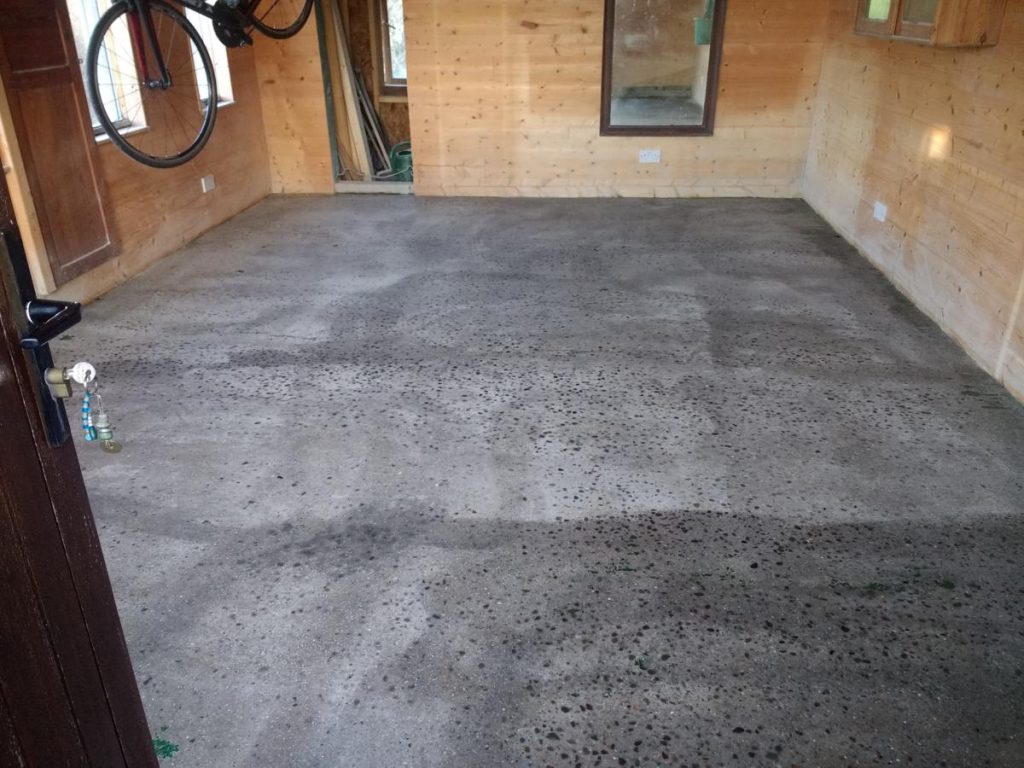
So twelve years on from building the grass roofed visitors “shed” we decided to do a revamp and create a crafted comfortable chalet style accommodation for four people. Initially it was a complete empty of the building and then grinding down the concrete floor to get a polished concrete floor rather than the screed painted finish that we had for the last twelve years. The contractor who put the floor in all those years ago could have done a better job. So this was the place to start.
The floor twelve years of use all scratched and a few cracks
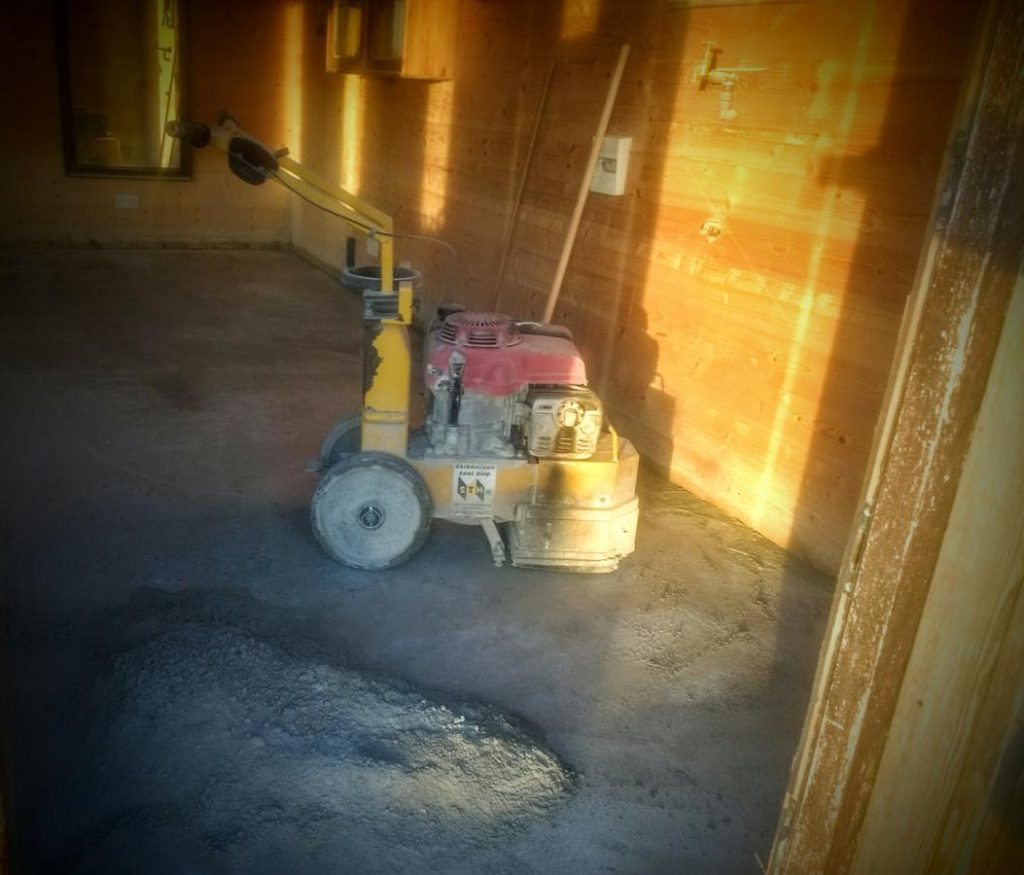
We hired a concrete grinder and spent a day running over and over the floor, cleaning up the dust each time. It was a hard day, but the 24 hour hire period was non negotiable so we worked hard.
This machine weighed a ton, however it was very easy to use, apart from all the cleaning between run overs
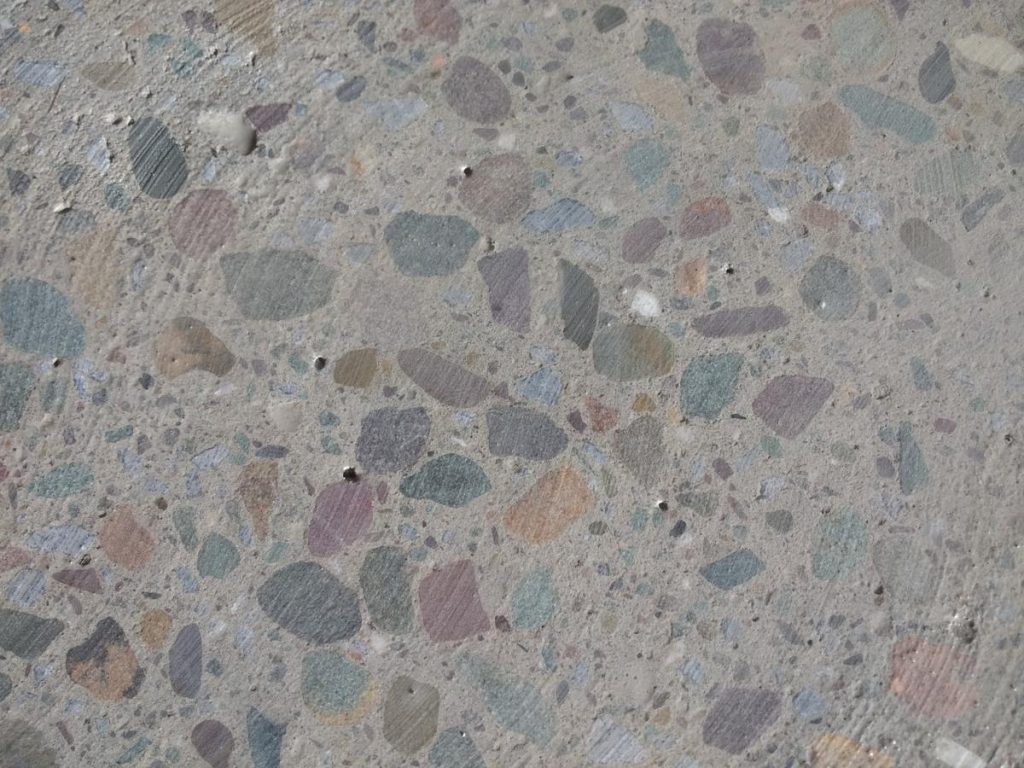
We are very happy with the finish, and went on to use a floor sealer “smartseal” product to give the concrete a deep sheen finish, it’s very nice.
The floor before sealingMany coats of sealant gave a lovely finish, here the sealant is still drying.
So we now have a clean flat and sealed floor, very happy with it and a nice platform to work from.
Watch a short film made whilst we were sealing the floor
If you like this post please feel free to share, Thanks